I was trying not to start another project. The garage was hot and full of half-finished ideas, so I bought a shoe rack. It wasn't great.
While designing a better one, I tried a different approach: straight-cut boards joined by 3D-printed connectors. I liked how the wood and printed parts looked together. Putting them together piece by piece felt a bit like building with LEGO.
02 · The connectors
From one connector to a system.
I designed the first connector in Fusion 360. It worked, but I didn't want to draw every variation by hand. So I made the design adjustable: change a board dimension or angle, and the connector changes with it. One part became the start of a system.
03 · Structure testing
One hexagon became a lot more.
I kept testing how the cells could connect, how boards could share joints, and how far the same basic rules could go. Pretty quickly it stopped being about one shoe rack and started becoming a modular building system.
04 · The Builder
Then I could see it before building it.
Keeping track of models, dimensions and connector files was getting messy. I made a visual Builder so I could arrange the cells, change the board sizes and see which connectors were needed.
What began as a little helper for my shoe rack started to feel like a tool anyone could use.
05 · First build
First, the shoe rack.
After all the design work, I finally built the shoe rack that started it all. I printed the connectors, cut straight boards and assembled it piece by piece. It felt solid, and it was fun to put together.
That first real build convinced me the idea could be useful beyond my garage, so I turned the design tool into a website.
06 · The next step
Fasteners and wall mounts.
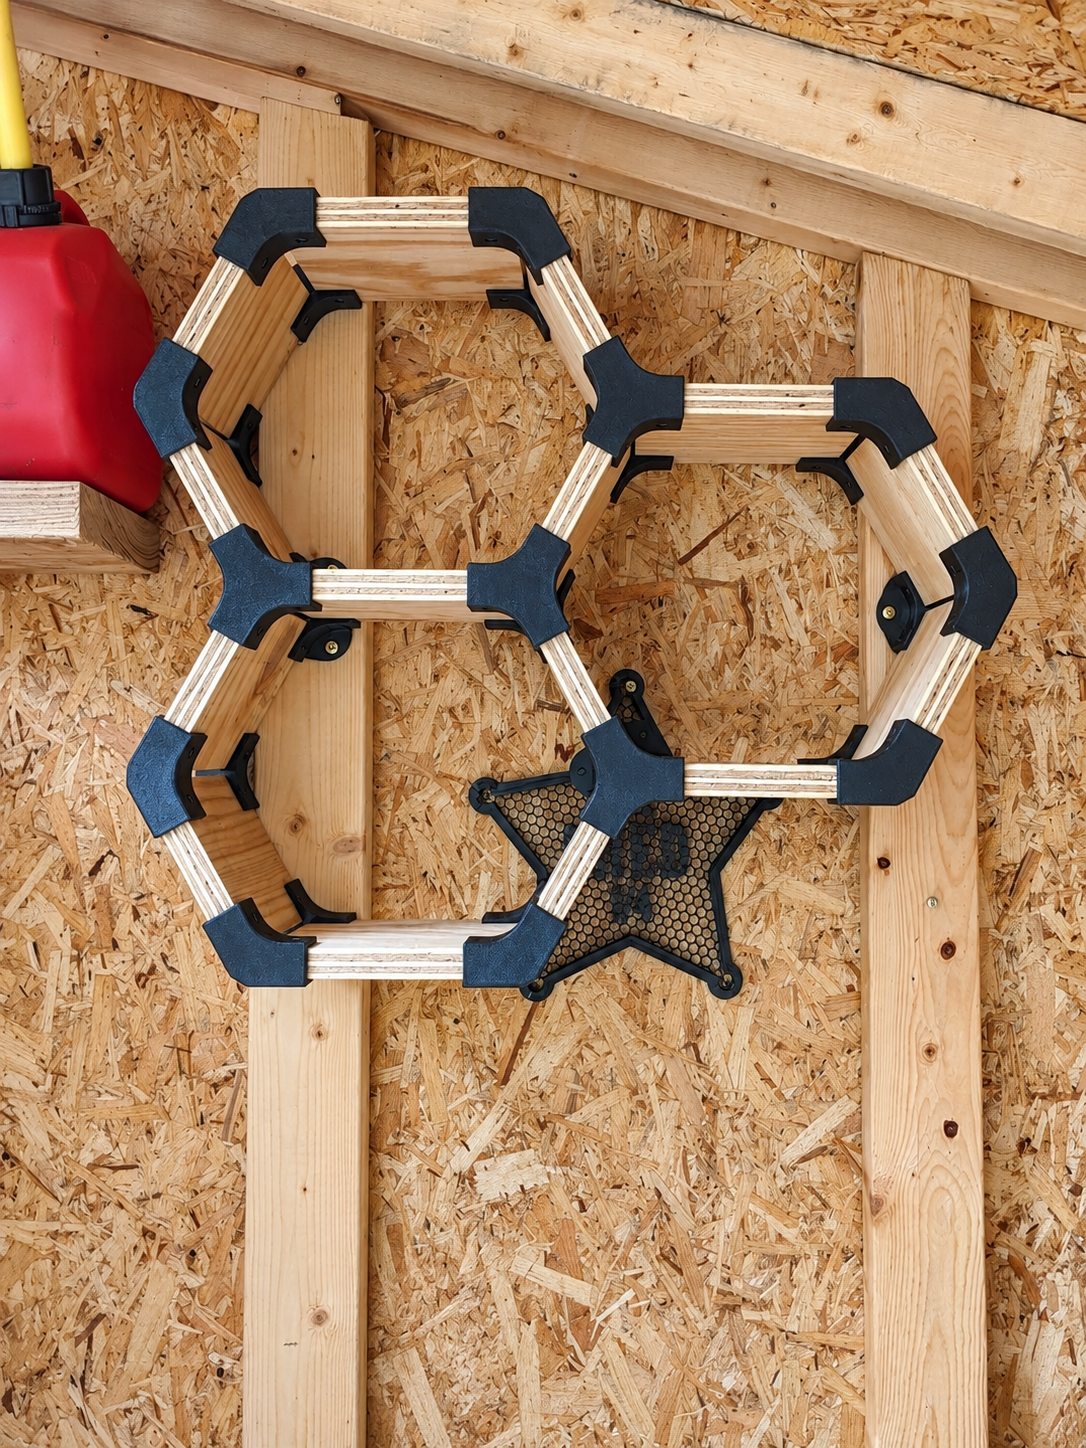
The shoe rack worked, so I added optional fasteners and wall-mount connectors. This shelf was my first test of both. I cut and drilled the boards, printed the new connectors and started assembling a larger layout.
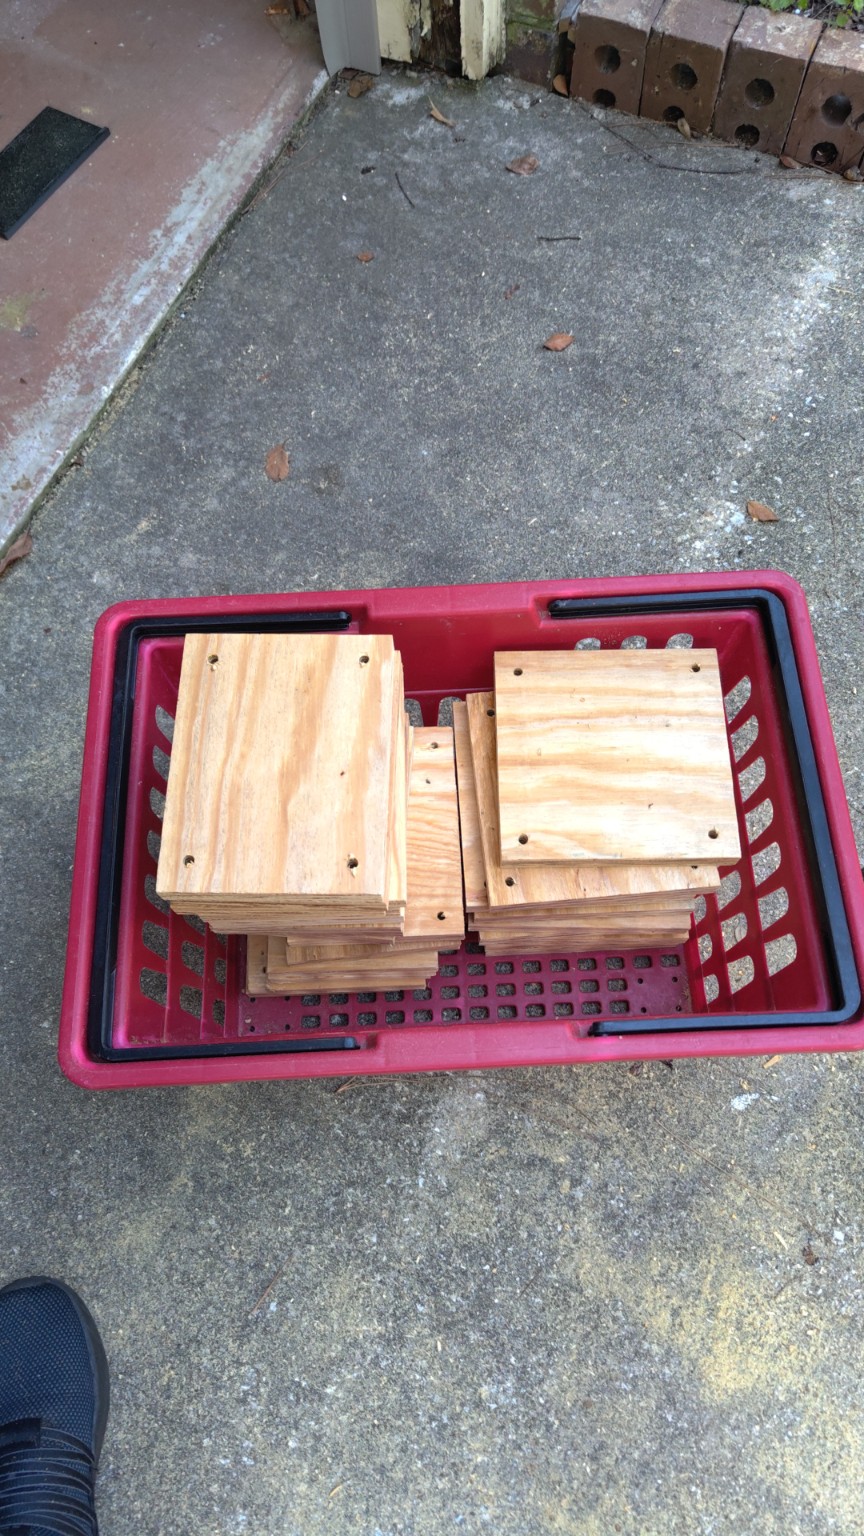
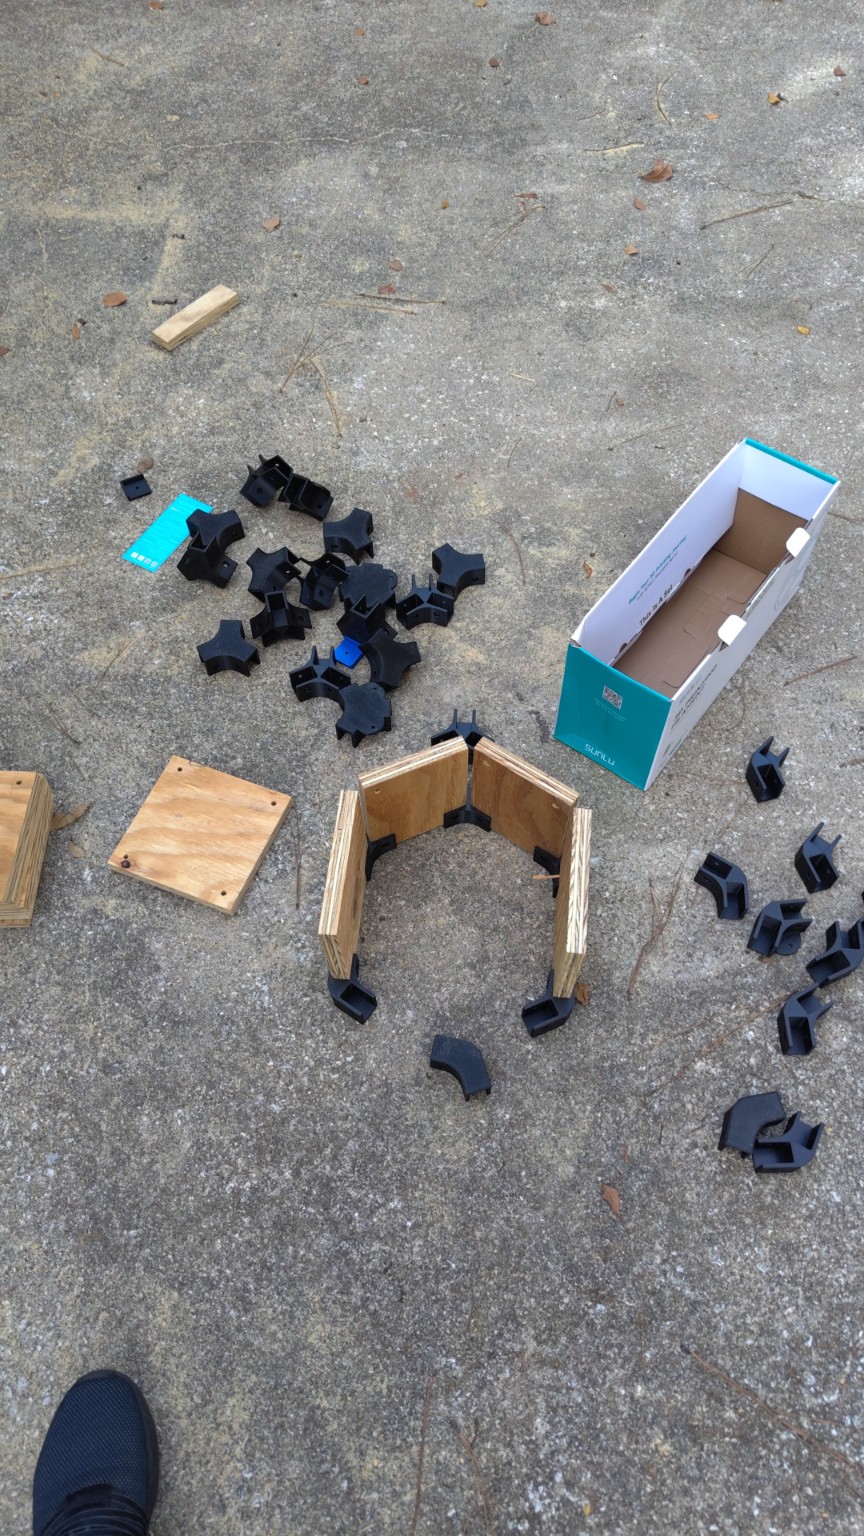
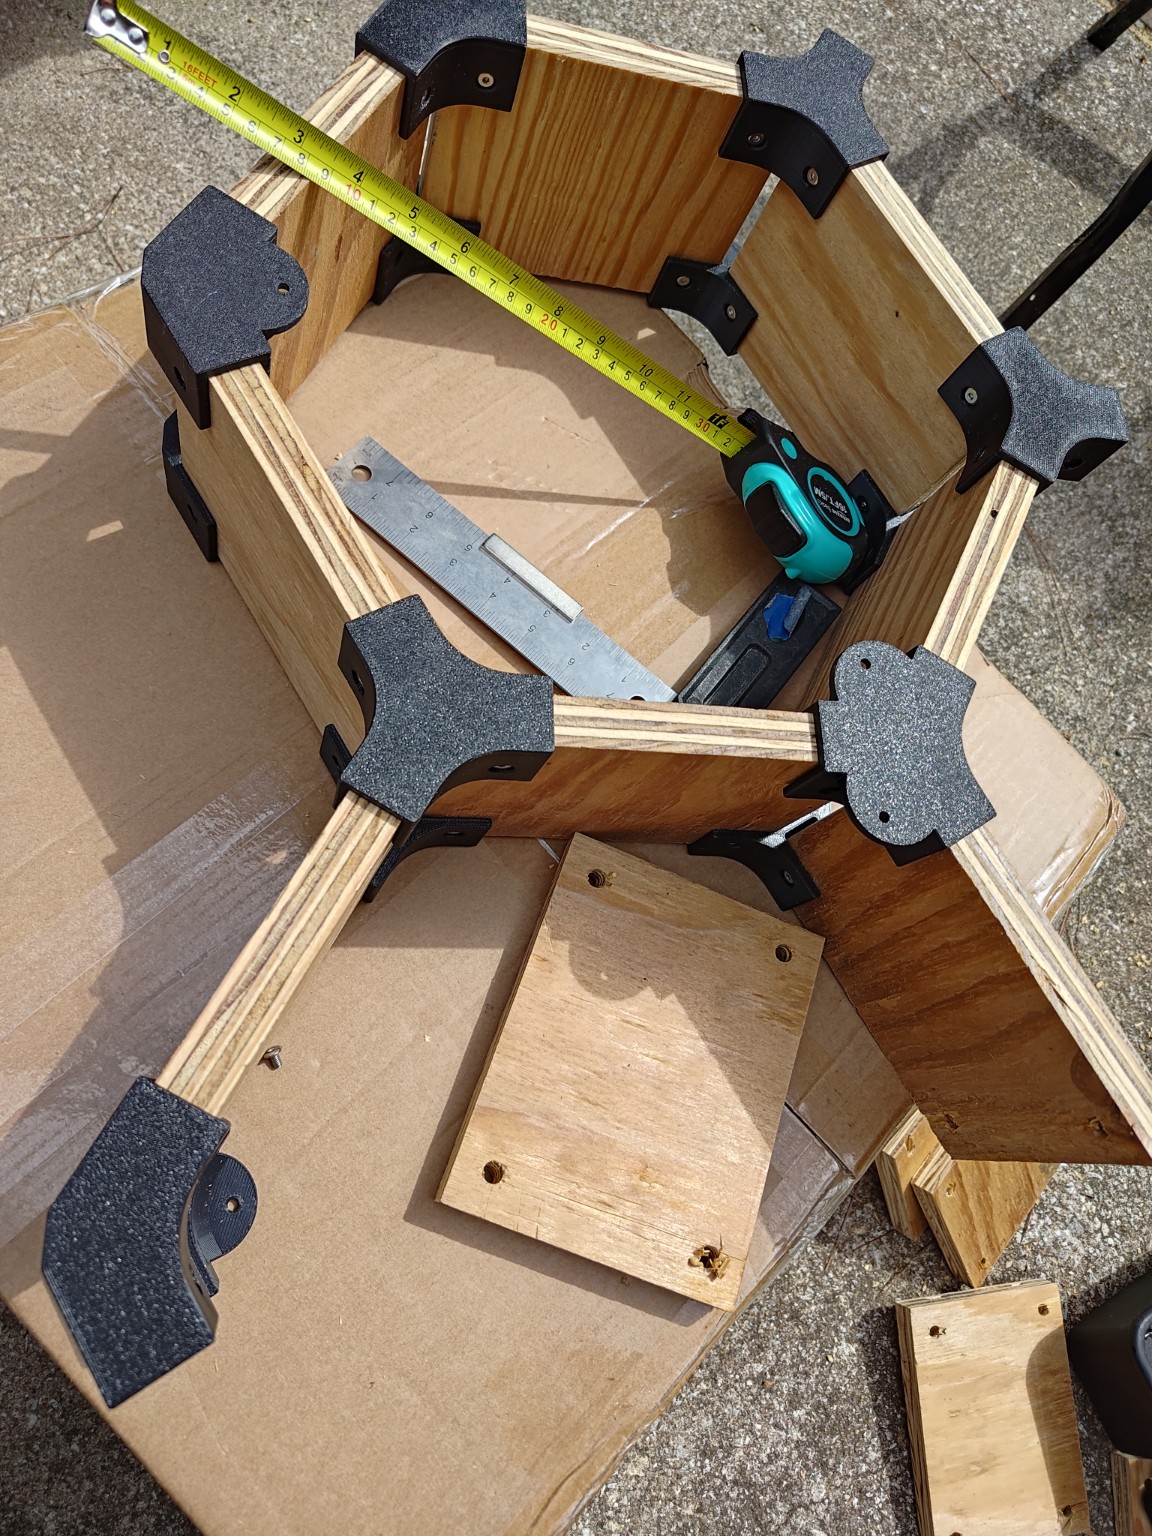
Boards cut and drilled. I later made the holes larger, which made assembly much easier.Printed connectors, ready to fit.Checking the fit as the fasteners went in.
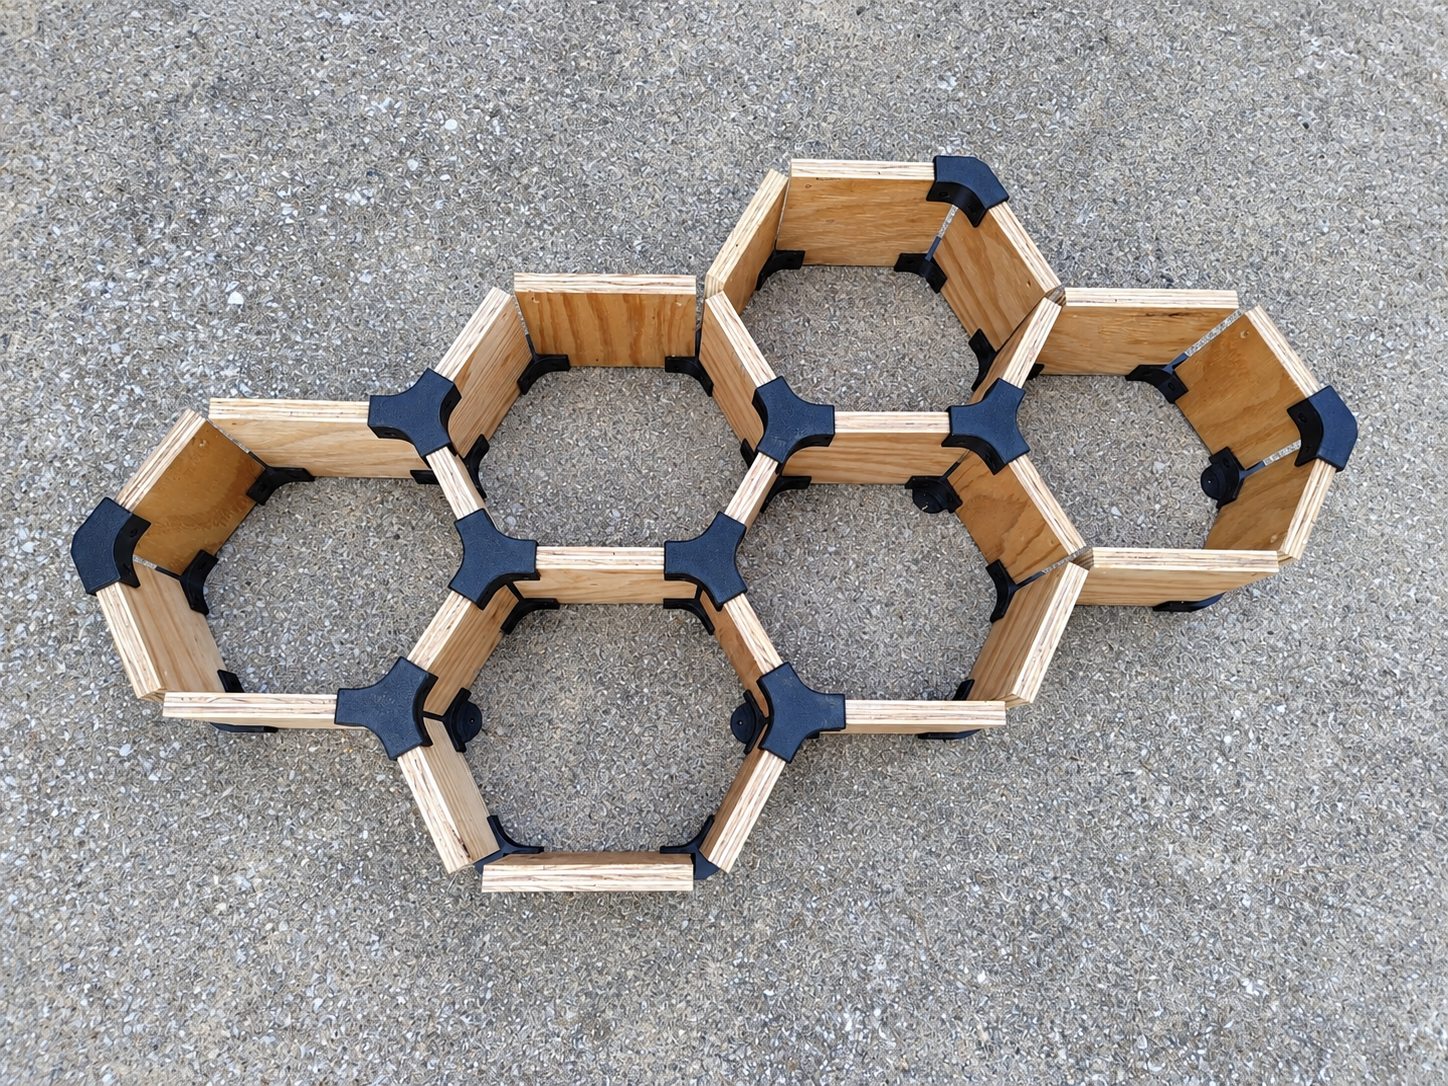
The larger layout became two three-cell shelves. That's the fun of HexaNect: you can change your mind and improvise as you go.
The larger layout before I split it into two shelves.I mounted one shelf in my shed. It felt sturdy, and the build taught me how to improve the Builder.
Give the wood holes room.
Drill the board holes larger than the barrel. The extra room makes assembly easier if the marking or drilling is slightly off.
Measure your hardware.
Measure the barrel screws you plan to use, then enter their dimensions in the Builder. Choose wall fixings that suit your wall and load.
Test one before a batch.
Test one connector on your actual board before printing a batch. If the fit is off, adjust it in the Builder and export again. Tighten fasteners slowly to avoid friction heat.
Naming it took longer than it should have. HexaLink, HexaJoin, HexaNex... most of the obvious ones were already taken.
I liked HexaNex because nexus means a connection, link, or point where things come together. Then I found out nex in Latin can also refer to a violent death. Not exactly the association I wanted for furniture.
HexaNect was the closest available thing that still fit. Hexa for the geometry, and Nect inspired by nectere, to bind, join or connect. It stuck.
Still building it
Now I want to see what comes next.
HexaNect is still evolving. I'm adding or refining something almost every day, and there is plenty more I want to do. The most interesting part now is seeing what other people build with it.